


Making contributions
In this section

How do I create an exception schedule?
Video: How to process an exception schedule.
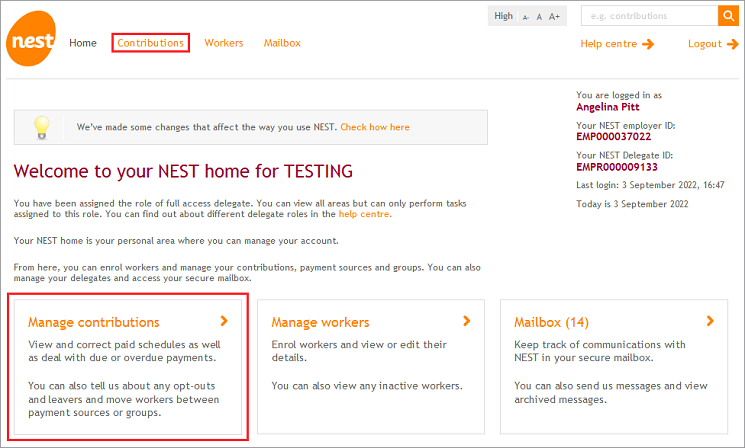
From your Nest home page select either ‘Contributions’ or ‘Manage contributions’.
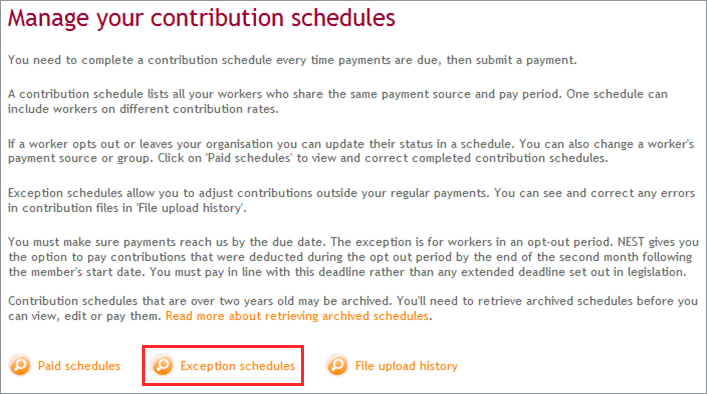
From the Manage your contribution schedules area of your online account click ‘Exception schedules’.
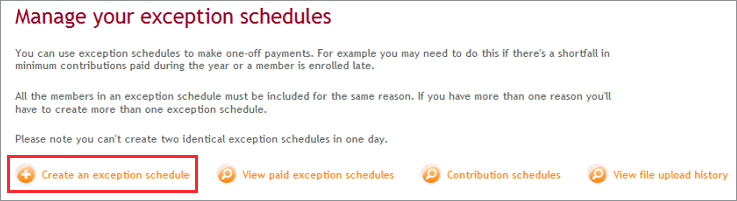
Click ‘Create Exception schedule’.
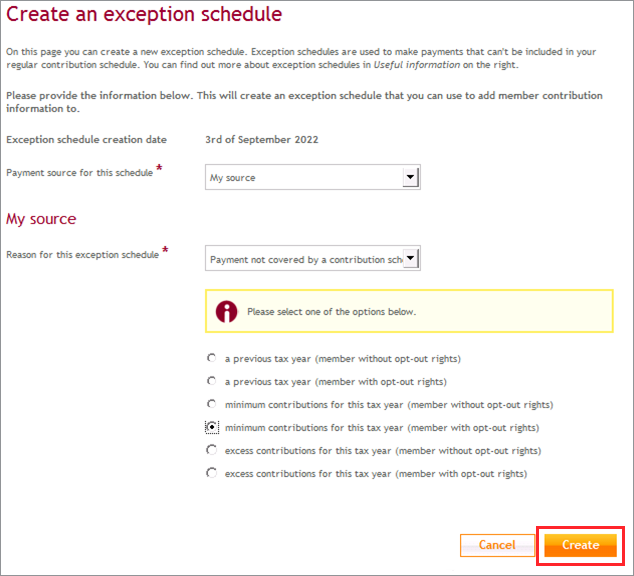
Select the payment source you want to use from the drop-down menu then choose the reason for submitting the exception schedule. Click ‘Create’. A member that was auto enrolled or opted in would have opt out rights. Other enrolment types would be without opt-out rights.
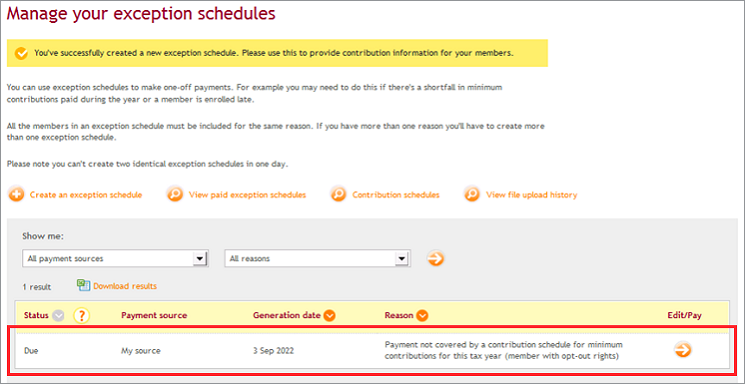
You’ll see on screen confirmation that a new exception schedule has been set up and a summary of its details in a table.
If you use file transfer to submit your exception schedule and you haven’t created an exception schedule online, we’ll automatically create one for you using the information you’ve sent us.
Once you’ve created an exception schedule you can add members to it manually online or by file upload or file transfer. For more information on adding members to the exception schedule please see How do I add members to an exception schedule?
We value your feedback
Your feedback is important to us. To help us improve, tell us what you think about our employer help centre by taking a short survey.
Was this helpful to you?
Thank you.


 Live chat
Thank you.
Thank you for the feedback.
Feedback
Was this helpful to you?
Live Chat
Our live help agents will answer your questions and guide you through setting up and managing NEST.
Our chat is available from Monday to Sunday from 8.00AM to 8.00PM
Web chat is currently unavailable
We're open from 10.00 am until 4.00 pm today. Please try again between these hours or our usual business hours of 8am to 8pm Monday to Sunday. Or you can visit our online help centre.
Web chat is currently unavailable
Our offices are now closed for the Bank Holiday. You can reach us during our normal opening times of 8am to 8pm Monday to Sunday. Or you can visit our online help centre.
Welcome to live help
To help us deal with your question quickly please tell us who you are and what you'd like help with by choosing an option from each of the menus below: