


Making contributions
In this section

How do I make and pay an exception schedule for a business that’s insolvent and has ceased trading?
This article is for Insolvency Practitioners (IP) or Official Receivers (OR) who are appointed by a business which is insolvent and have ceased to trade. It will guide you through the process step by step to help you make the payment by an exception schedule.
You’ll need to create more than one exception schedule in these circumstances:
- if the payment is coming from different sources. For example, the payment is made by you or Redundancy Payments Service (RPS).
- if you’re making more than one payment at different time. For each new payment a separate exception schedule needs to be created. If you’re making multiple payments at the same time, you can use just one exception schedule to cover the payments.
- if there are members with or without opt-out rights based on their enrolment type. Members with enrolment type as ‘Auto enrolled’ or ‘Opt-in’ would have had opt-out rights and all others would be without opt-out rights. To find the member’s enrolment type, click ‘Manage workers’ on the Nest home page and then view it under Enrolment type next to the member’s name.
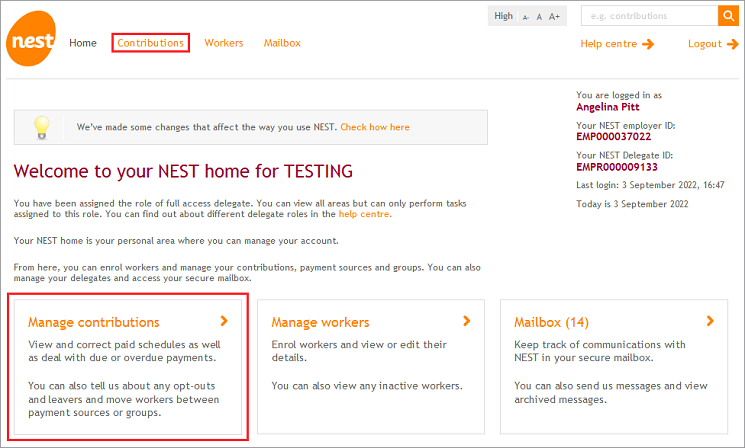
To create an exception schedule, click either ‘Contributions’ or ‘Manage contributions’ from your Nest home page.
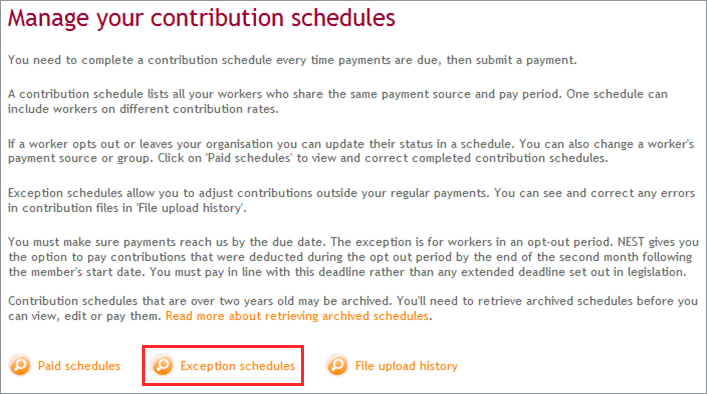
Then click ‘Exception schedules’.
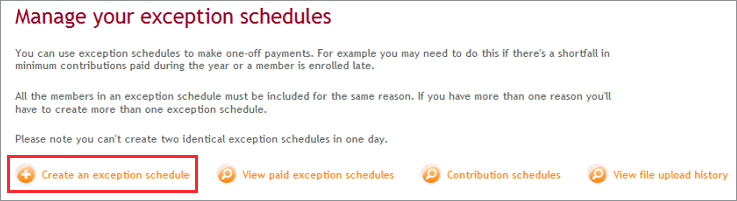
Click ‘Create an exception schedule’.
You'll need to select the mode of payment from the drop down next to Payment source for this schedule. Then you'll need to select the reason for creating an exception schedule. If the payment is being made by you, select the reason as ‘Payment by Insolvency Practitioner/Official Receiver’ and if the payment is made by RPS, select the reason as ‘Payment by NIF’. If the payment you’re making covers two tax years, select the year where the majority of the contributions are due.

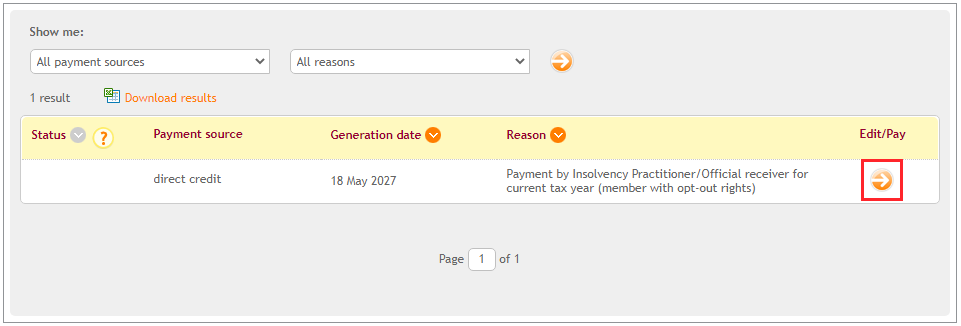
Once the exception schedule is created, you can add the members by clicking the arrow icon below Edit/Pay.
Then click ‘Add member’. If there are a lot of members to pay contributions for, you may find it easier to do it by file upload, using the Nest CSV template. For more information please see How do I complete an exception schedule using a CSV file template?

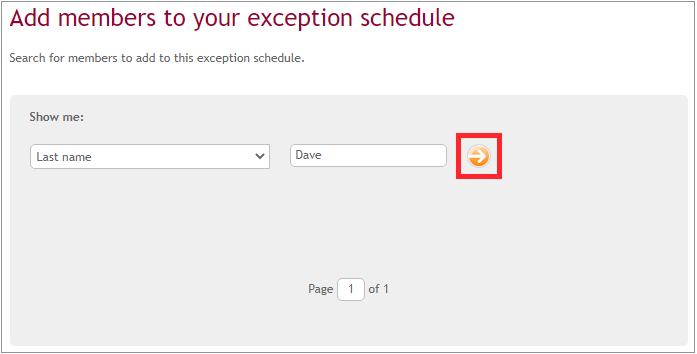
You can search the member with their last name, National Insurance number or Alternative Identifier which is a unique number to identify the member and can be found by clicking the orange icon below View/Edit from the Manage workers page. Click the orange icon after you’ve entered the information.
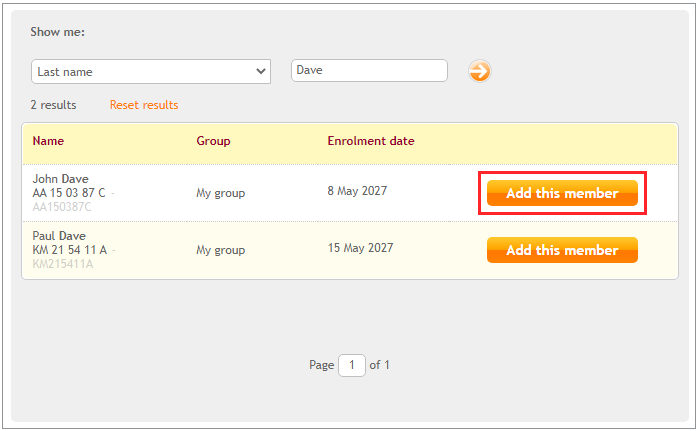
Once you’ve found the member, click ‘Add this member’.
The next step is to add the contribution amounts in the boxes next to the member’s name.
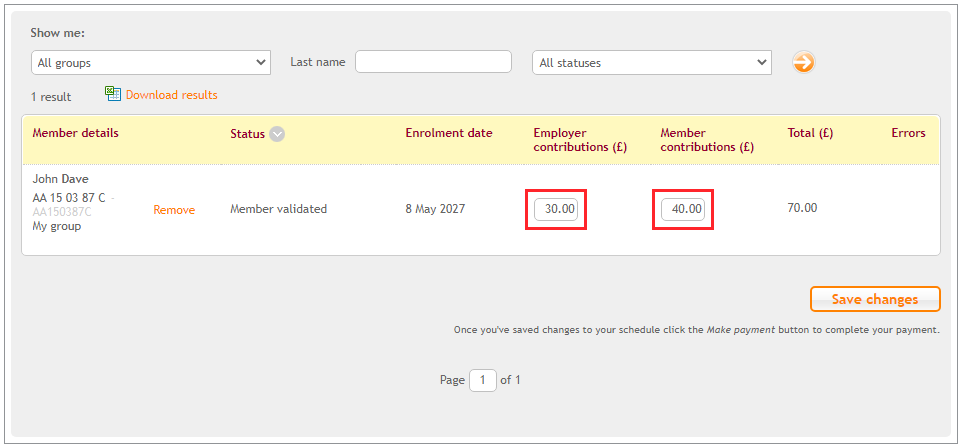
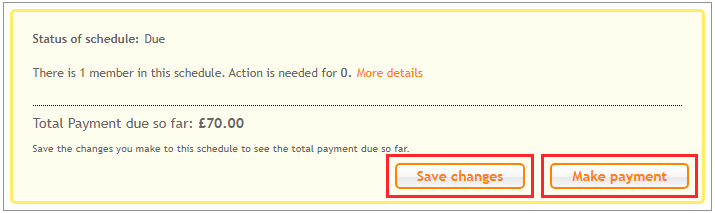
Click ‘Save changes’ when you’ve added all the members and their contribution information. If you're happy with the total contribution amount to be collected, you can click ‘Make payment’.
When sending the payment to Nest by direct credit, you’ll need to include the unique payment reference in the bank details summary. The reference number begins with IT, for example IT000123456 and will appear at the top of the exception schedule within 15 minutes of you clicking ‘Make payment’. If you’ve submitted a claim to RPS, you’ll need to ensure the exception schedules are created and the contributions are updated for the members. Once we’ve received the payment from RPS, we’ll allocate it to the members’ accounts.
If we do not receive the payment with 14 days, you’ll receive late payment notifications, but we will not report the employer to The Pensions Regulator (TPR). The payments should be made as soon as possible, but RPS payments may take longer.
Once the ‘Make payment’ tab is clicked in the exception schedule, the below details can be viewed by clicking ‘Payment history’.
- Collection reference
- Payment method
- Date raised or submitted
- Date that payment was received
- The amount submitted
- The status of the payment
Once we’ve received all the outstanding contributions and allocated it to the members’ accounts, we’ll send a confirmation to their Nest secure mailbox. After we’ve received the final payment, you’ll need to email us on IPsupport@nestpensions.org.uk to confirm no further payments are to be made, and only then we’ll close the employer account.
We value your feedback
Your feedback is important to us. To help us improve, tell us what you think about our employer help centre by taking a short survey.
Was this helpful to you?
Thank you.


 Live chat
Thank you.
Thank you for the feedback.
Feedback
Was this helpful to you?
Live Chat
Our live help agents will answer your questions and guide you through setting up and managing NEST.
Our chat is available from Monday to Sunday from 8.00AM to 8.00PM
Web chat is currently unavailable
We're open from 10.00 am until 4.00 pm today. Please try again between these hours or our usual business hours of 8am to 8pm Monday to Sunday. Or you can visit our online help centre.
Web chat is currently unavailable
Our offices are now closed for the Bank Holiday. You can reach us during our normal opening times of 8am to 8pm Monday to Sunday. Or you can visit our online help centre.
Welcome to live help
To help us deal with your question quickly please tell us who you are and what you'd like help with by choosing an option from each of the menus below: